12

Zodiac Ei2 12 electrolytic cell
WR0673600
Model: Ei2 12
Replacement cell for Ei2 12. Match the exact equipment model and catalogue reference.

Select your Ei2 model and the matching replacement cell. For shared mechanical parts, also compare the catalogue reference and original part design.
Different version? Zodiac Ei2 Expert 10 / 18 / 25 spare parts →
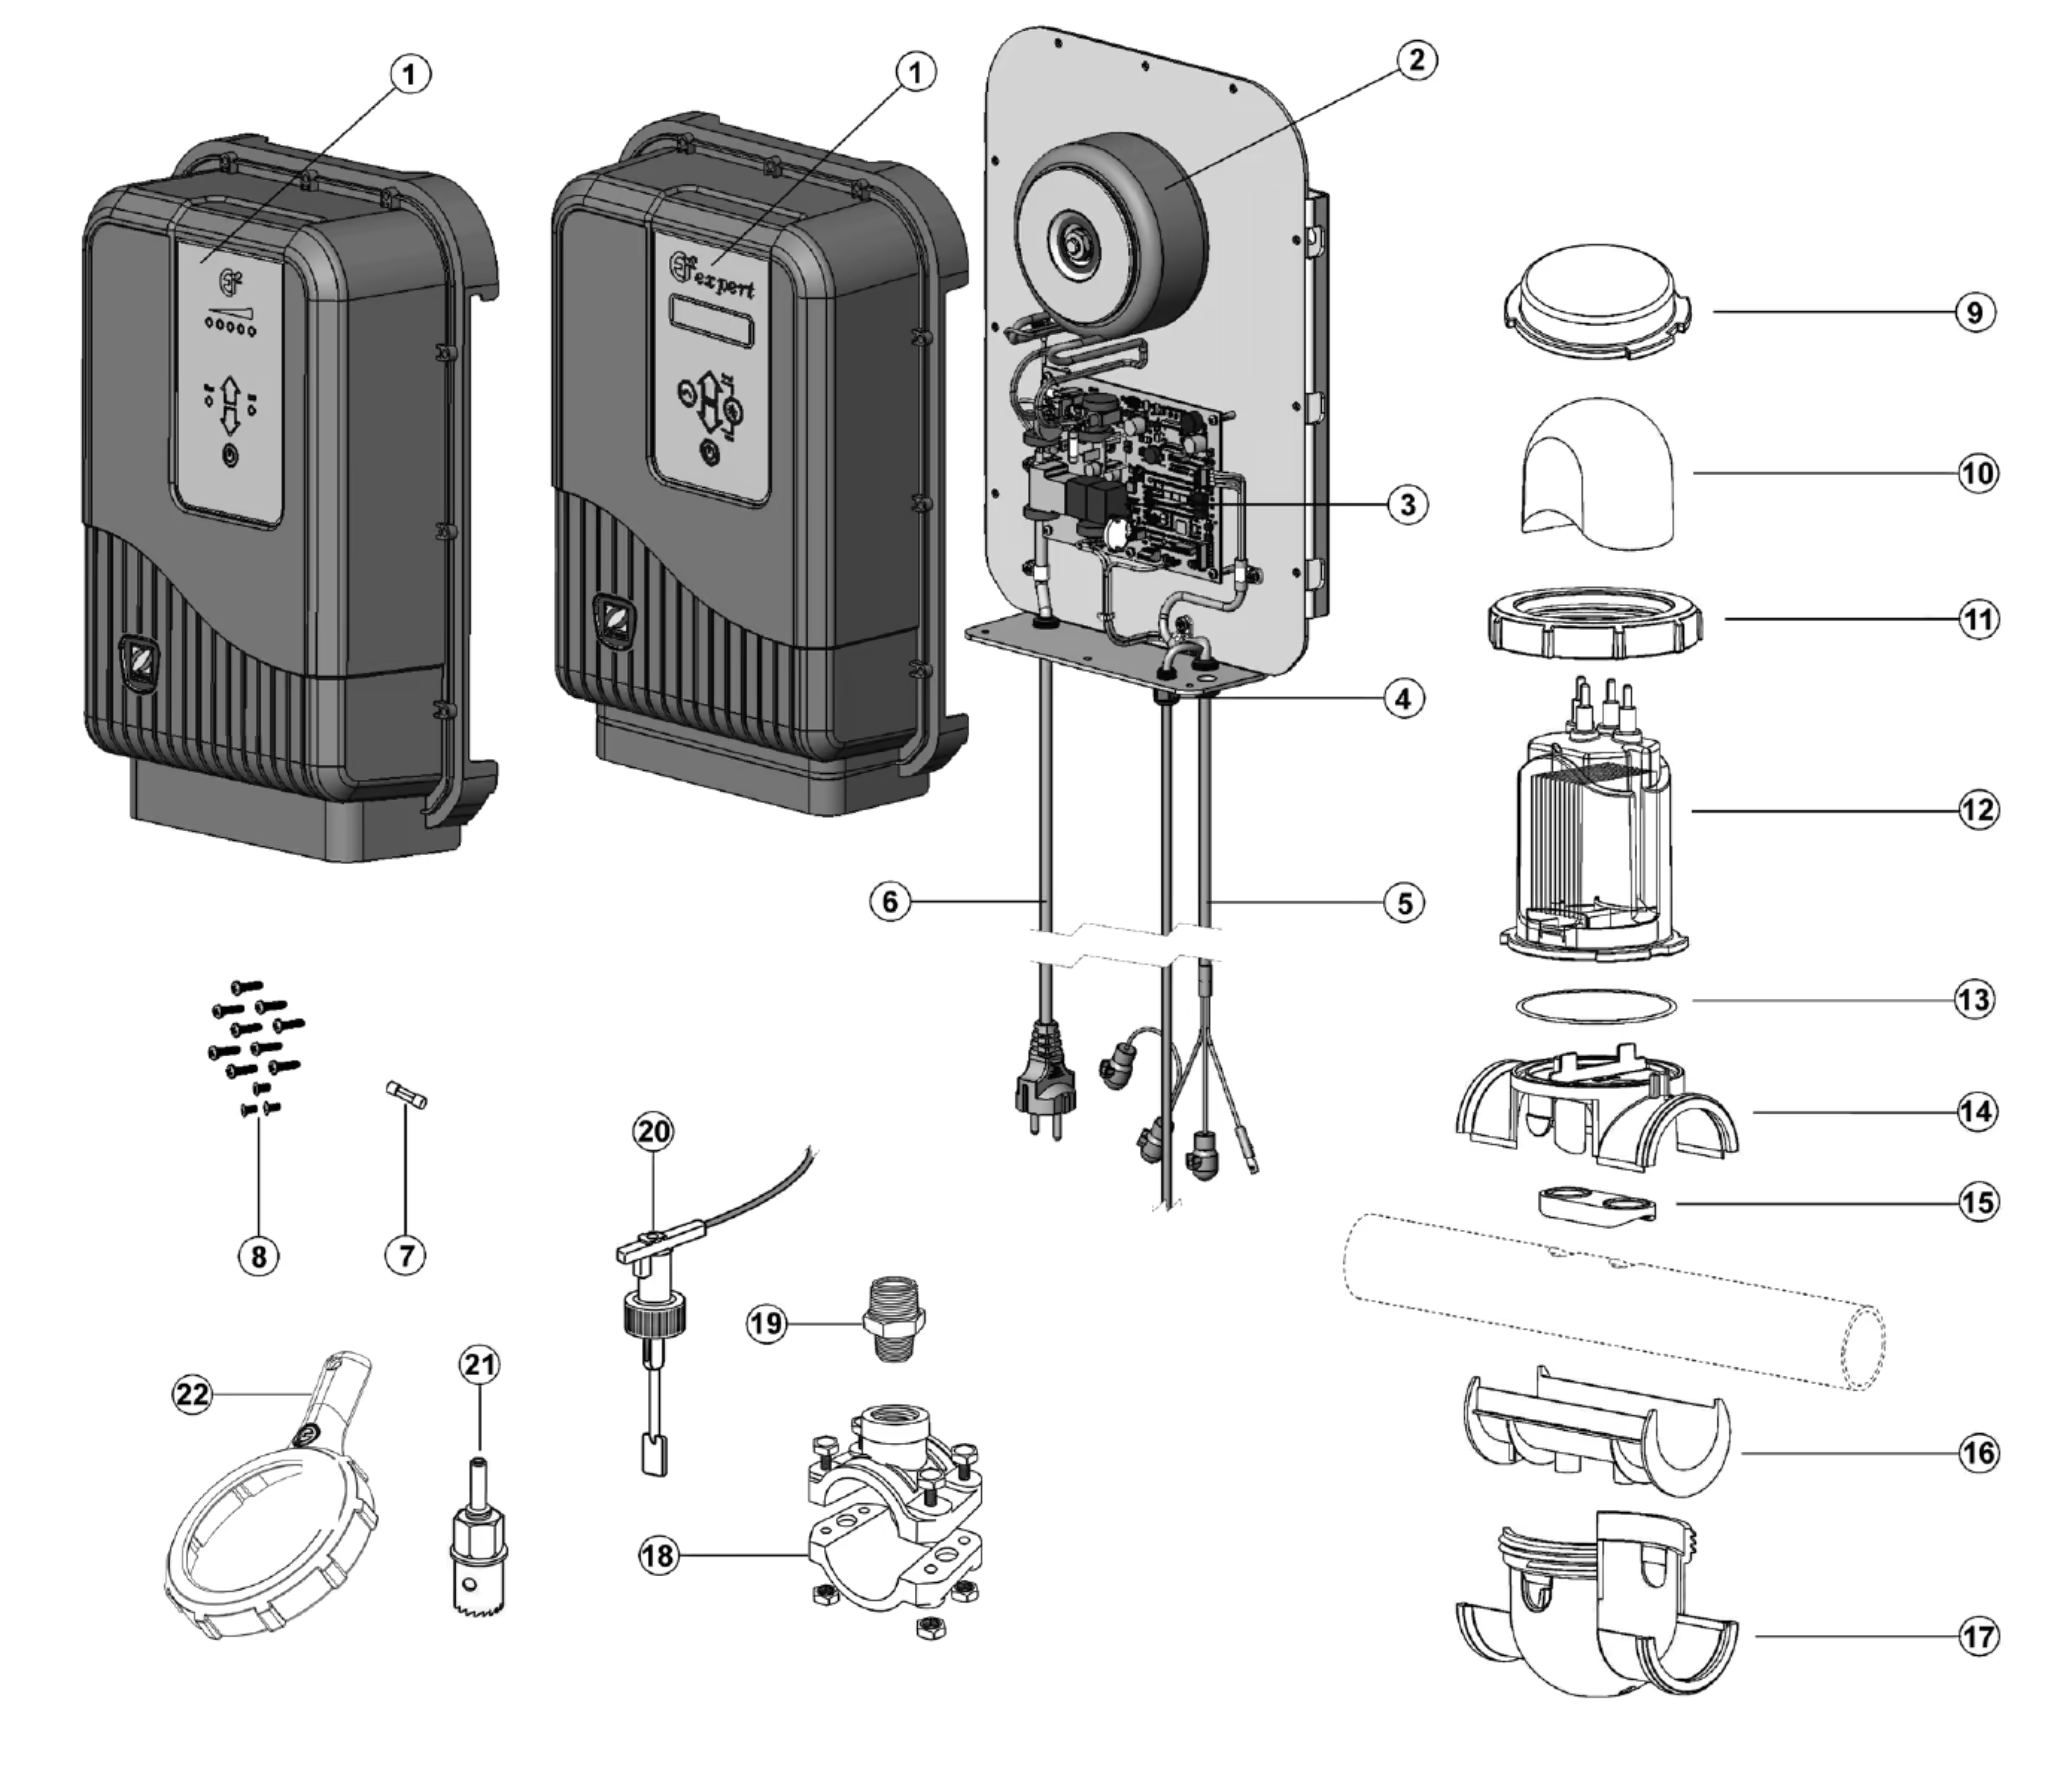
Original shared Ei2 / Ei2 Expert diagram. Click to enlarge. The winterising plug is position 9 in the drawing, although the supplier list labels it 8.
Model: Ei2 12
Replacement cell for Ei2 12. Match the exact equipment model and catalogue reference.

Model: Ei2 20
Replacement electrolytic cell specifically for Ei2 20. Check the model label; Ei2 12 and other cell variants are not substituted here.

Model: Ei2 25
Replacement cell for Ei2 25 / Ei2 Expert 25. Match the exact equipment model and catalogue reference.

Diagram position: 9
Plug for winterising the Ei cell assembly. Follow the instructions for your specific chlorinator when dismantling and winterising.

Diagram position: 10
Protective cover for the top of the Ei cell. This is a separate cover, not a replacement for the electrolytic cell or its locking ring.

Diagram position: 11
Secures the cell assembly. Inspect the sealing surfaces and seal when replacing the ring; do not reuse a damaged locking ring.

Diagram position: 13
Cell-joint seal. Clean the groove and mating surface before assembly and make sure the sealing ring is not twisted.

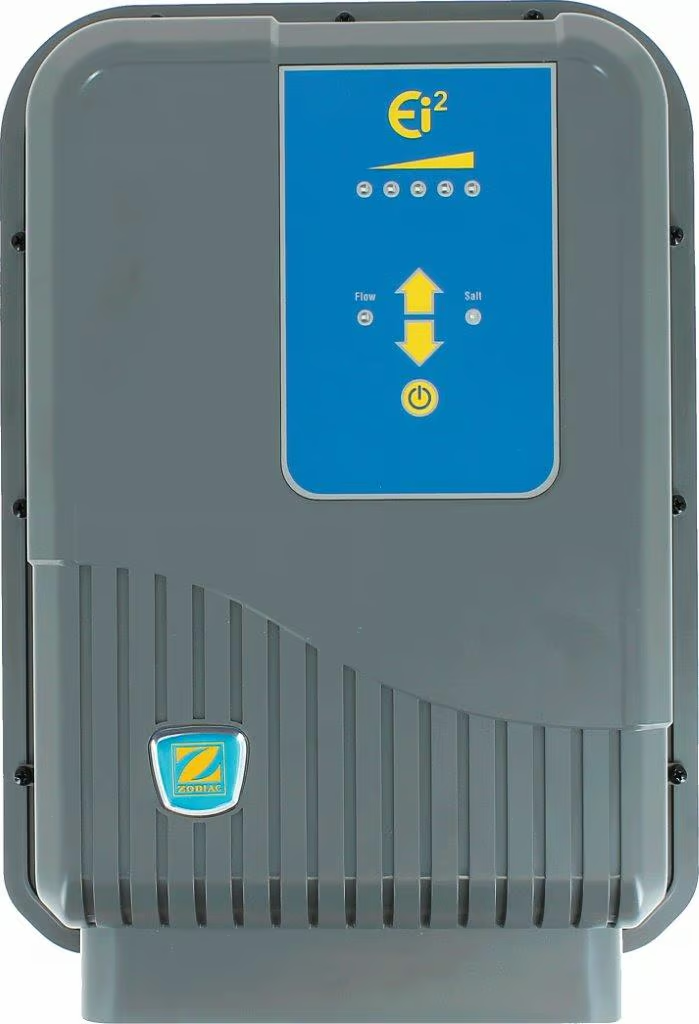
Model: Zodiac Ei2
Replacement control-unit cover with overlay for Ei2. Compare the control panel before ordering; this is not the Expert version.

Diagram position: 2
Replacement transformer for the Ei2 / Ei2 Expert control-unit power supply. Have electrical diagnosis and replacement performed by a service technician.

Model: Zodiac Ei2
Control electronics for the standard Ei2 range. Match the catalogue code and unit version; Expert electronics use a different reference.

Diagram position: 5
Connects the electrolytic cell to the control unit. Compare the connectors and cable version with the existing installation before replacement.

Diagram position: 14
Upper part of the pipe-mounted cell assembly. Check the matching lower part, seal and original version when repairing.

Pipe diameter: 50 and 63 mm
Upper mounting seal for 50 and 63 mm pipework. The current W043710 version replaces the earlier W043700 reference.

Pipe diameter: 50 mm
Reducing adapter for European 50 mm pipework. Compare the actual pipe outside diameter and mounting assembly before ordering.

Diagram position: 17
The lower mounting part supports the pipe-mounted cell assembly. Compare the matching upper part, mating surfaces and original version before replacement.

Diagram position: 21
Installation tool listed in the Ei parts diagram. Use it in accordance with the manufacturer’s installation procedure for the relevant pipework.

Diagram position: 22
Service wrench for loosening the cell assembly. Follow the device manual and specified ring-tightening method during reassembly.
No matching part. Try another name or catalogue reference.


